Step 1:
Log into your game panel and click 'stop' on your service.
Step 2:
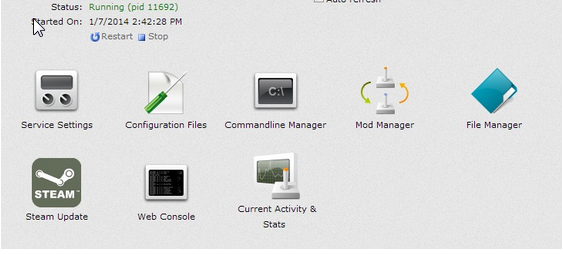
Select File Manager from the icons
Step 3:
Once in File Manager navigate to /settings/saves/Your Loaded Worlds Name
Step 4:
Find the file called "Sandbox.sbc" and edit it using the icon
We suggest setting this as a favourite by clicking the star icon
This will add it to the Configuration Files for easier access in the future
Step 5:
Navigate through the file until you find the line:
<Mods>
Step 6:
Find the mod ID you wish to use
You can get the ID from the URL of the mod:
http://steamcommunity.com/sharedfiles/filedetails/?id=297110720 <- this numberStep 7:
Add the ModItem ID like so:
<Mods>For example:
  <ModItem>
   <Name>xxxxx.sbm</Name>
   <PublishedFileId>xxxxx</PublishedFileId>
  </ModItem>
</Mods>
<Mods>Step 7.1:
  <ModItem>
   <Name>297110720.sbm</Name>
   <PublishedFileId>297110720</PublishedFileId>
  </ModItem>
</Mods>
If you are adding more mods, it is done like the following:
<Mods>Step 8:
  <ModItem>
   <Name>xxxxx.sbm</Name>
   <PublishedFileId>xxxxx</PublishedFileId>
  </ModItem>
<ModItem>
<Name>xxxxx.sbm</Name>
<PublishedFileId>xxxxx</PublishedFileId>
</ModItem>
</Mods>
Restart the server and the mod will load and install
Note:
If you are watching the 'Web Console' you will see the following line:
2014-08-1413:32:49.796-Thread: Â 1-> Â Â Â Â Up to date mod: Â id =xxxxxxxxxCredit: http://forums.keenswh.com/post/dedicated-server-mods-files-and-configuration-7037734?pid=1283915761#post1283915761


